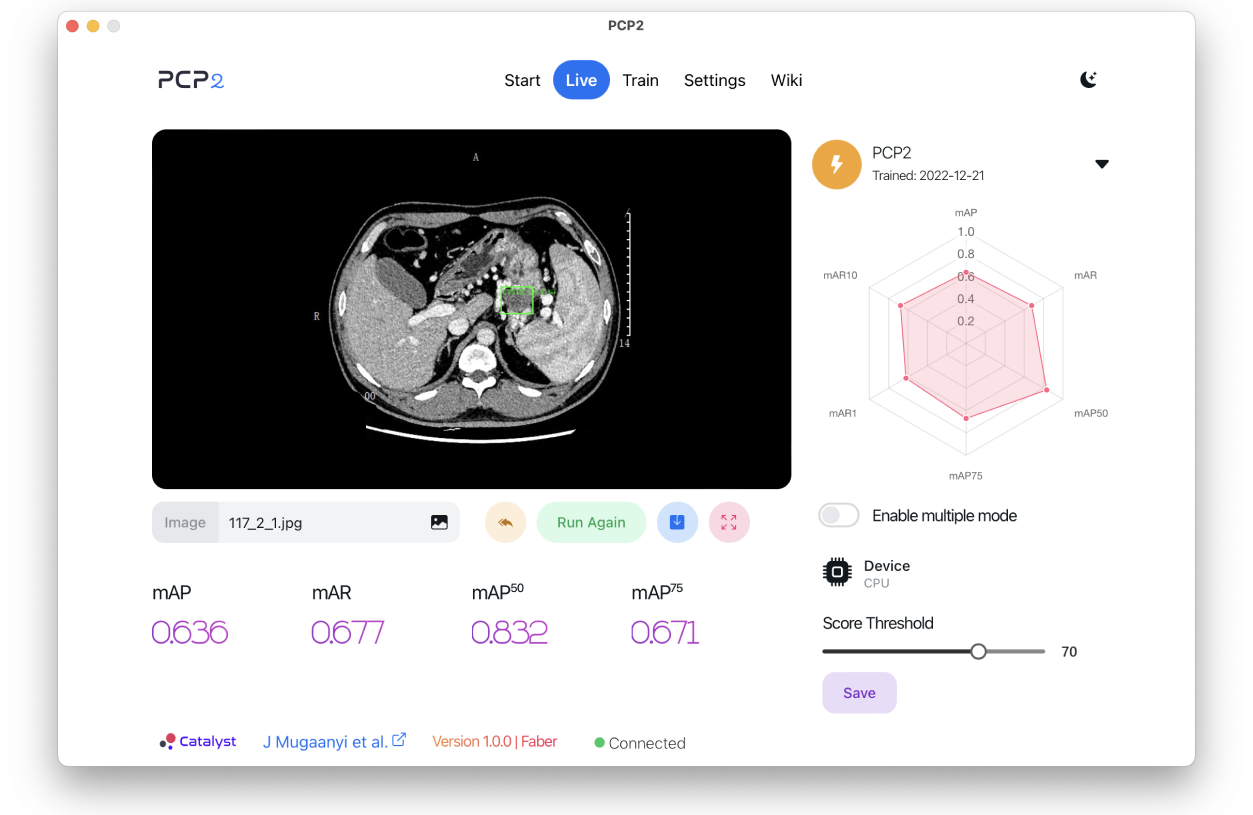
Get Started
The PCP2 tool comprises two components, the server component written in python and the UI component developed using NextJs. We also have a standalone binary for macOS and Windows based on Tauri. You can download the binaries here. The server API is developed using FastAPI and handles the model's trains and model utilization to make predictions.
We use web sockets to communicate between the python component and the frontend UI, enabling real-time monitoring of the model training and benchmarking process.
Project Structure
PCP2
------ ui
------ api
---------- Annotations
---------- Data
---------- Models
The ui folder contains the frontend application. The api folder contains the python API application.
Under the api folder, your custom annotation files for training your models should be stored in the Annotations folder.
The images to be used for training should be stored under the Data folder.
Trained models will be saved in the Models folder by the API.
Software Stack
Python v3.8+ || NodeJs v16+ || PyTorch || NextJs || FastApi
Setup
Open the terminal (Linux or macOS) or command prompt (windows) and go to the api directory
~ cd PCP2/api
Install the python dependencies
~ cd pip install -r requirements.txt
Change the directory to the ui directory and install the frontend app dependencies
~ cd .. && cd ui && yarn install
Run
Go to the api directory and start the PCP2 api server
~ uvicorn app:app --reload --port 8888
Open a new terminal (Keep the previous terminal open running the API server), Go to the UI directory and start the PCP2 Web App
~ yarn dev
To access the web app, open the browser and open http://localhost:3000
Production Mode
Please note that PCP2 is not designed for use at scale. It is meant for individual use or small teams. Therefore, it shouldn't be deployed for large-scale use.
Install PM2
~ yarn global add pm2
Go to the api directory under the PCP2 root directory and run the api with PM2
~ cd PCP2/api
~ source /venv/bin/active
~ pm2 start app.py --name PCP2API
Configure PM2 to start the PCP2 API server on the system startup
~ pm2 startup
This will output something like this
~ [PM2] To setup the Startup Script, copy/paste the following command: sudo env PATH=$PATH:/usr/local/bin/Users/hosie/.config/yarn/global/node_modules/pm2/bin/pm2 startup launchd -u username --hp /Users/username
copy the command starting at sudo env unto /Users/{username} {username} is the current user account. Paste the command in the terminal and press enter. Then run the following command to save the configuration.
~ pm2 save
You can now close the terminal. The PCP2 API will continue running and will be started automatically whenever your computer boots up.
Download and install the PCP2 desktop app PCP2 for Window PCP2 for macOS (Apple Silicon) PCP2 for macOS (Intel)
Train
To train a new model or to retrain/fine-tune an existing model, you need a dataset of images and their corresponding annotation data. If you want to train a new custom model with your own object classes, first, read the Custom Model section. Copy the images into the Data directory '(/PCP2/api/Data/)'. In the PCP2 UI, go to the "Train" tab, select the model you which to train. Set the number of Train epochs, the batch size, and the device to use. If you your computer has a GPU, be sure to select the GPU. This will reduce the training time. When ready, click "Train" to start the training.